To activate the payment system for the website, please read this article.
Overview
This guide explains how to configure Stripe subscription payments for the AI credit subscription feature. The settings page is available in WordPress Admin at:
In WordPress Admin, go to SEA Theme in the left sidebar, then click AI Stripe.
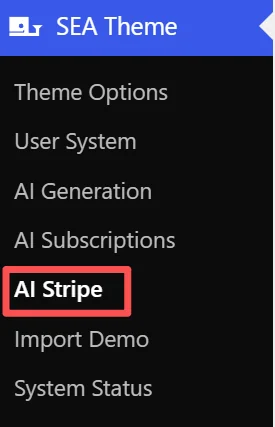
This opens the AI Stripe Subscription Settings page.
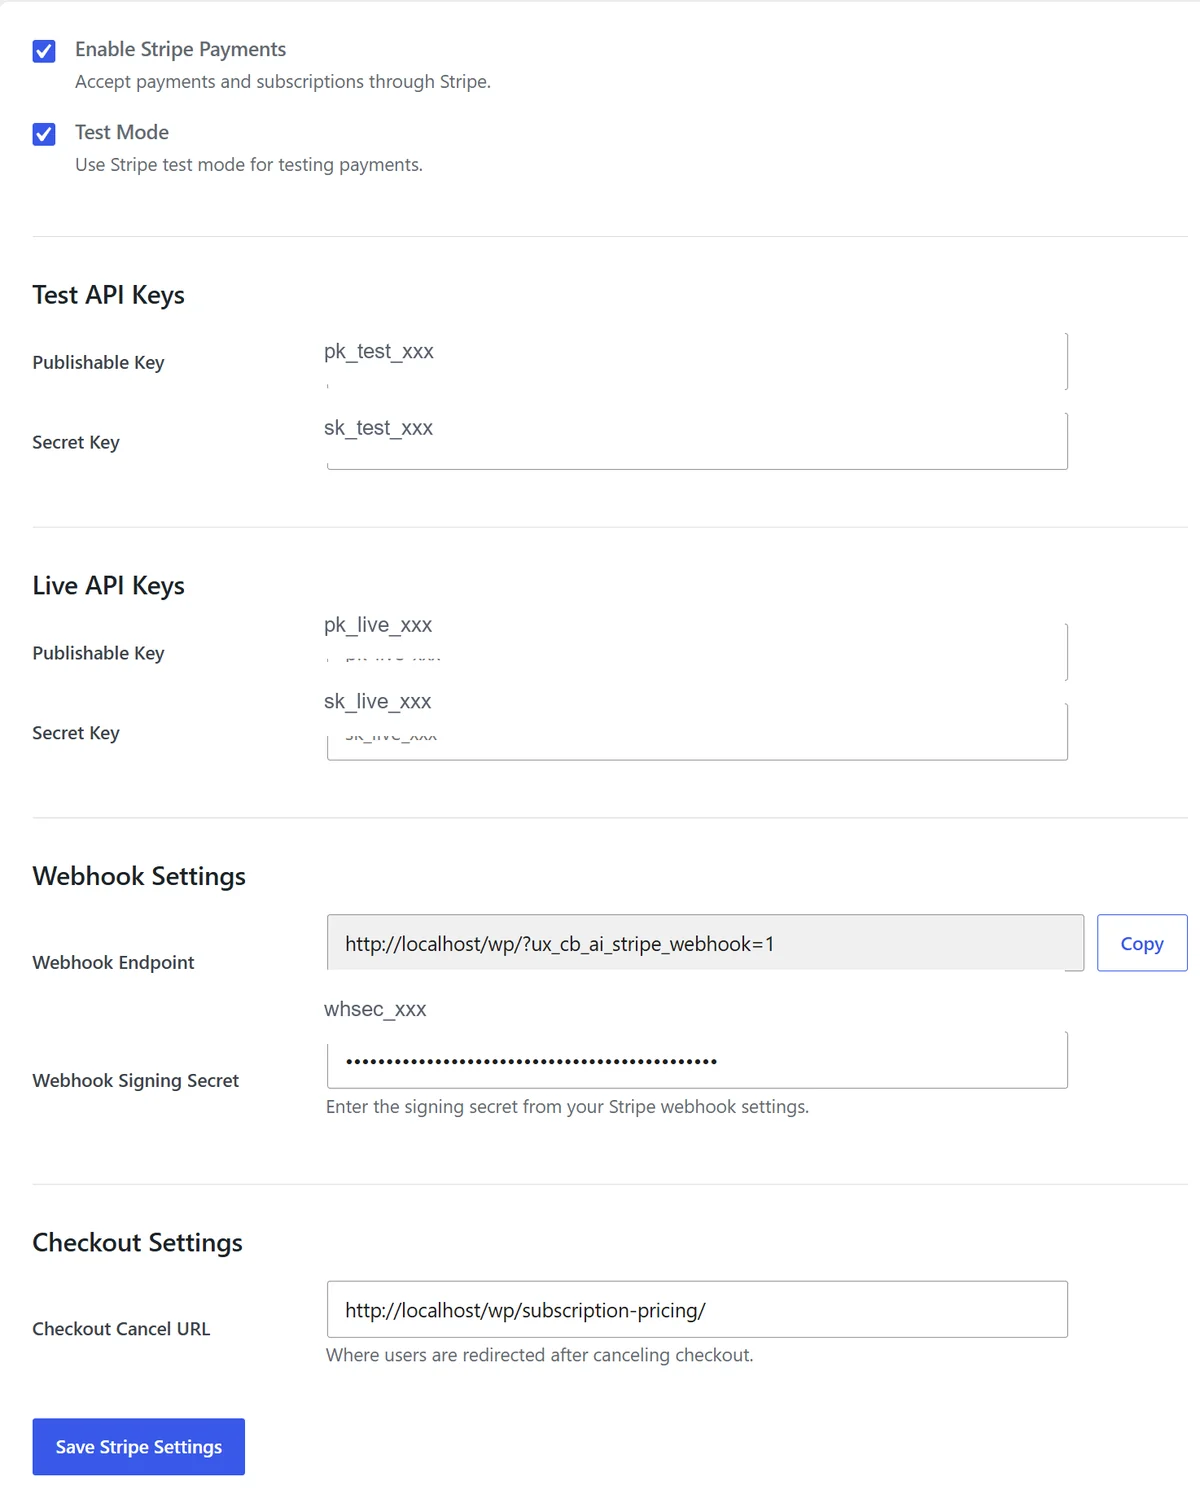
Enable Stripe Payments
Turn on Enable Stripe Payments to allow users to pay for monthly credit subscriptions through Stripe.
When this option is enabled, users can subscribe to a package, upgrade or downgrade a subscription, and manage billing through Stripe.

Use Test Mode for Setup
Enable Test Mode while configuring and testing Stripe payments. When Test Mode is enabled, the plugin uses the keys from the Test API Keys section. Test payments do not charge real money and should be used before going live.
Before launching, disable Test Mode so the plugin uses the keys from the Live API Keys section.
It is recommended that you first try the Test mode for testing, and then switch to using the live mode officially once everything runs smoothly.
Test API Keys
In your Stripe Dashboard https://dashboard.stripe.com/, switch to test mode and copy your test API keys.
After logging into the dashboard, be sure to confirm that you are in test mode(Sandbox); otherwise, you will see the Live key. You will see these two keys.
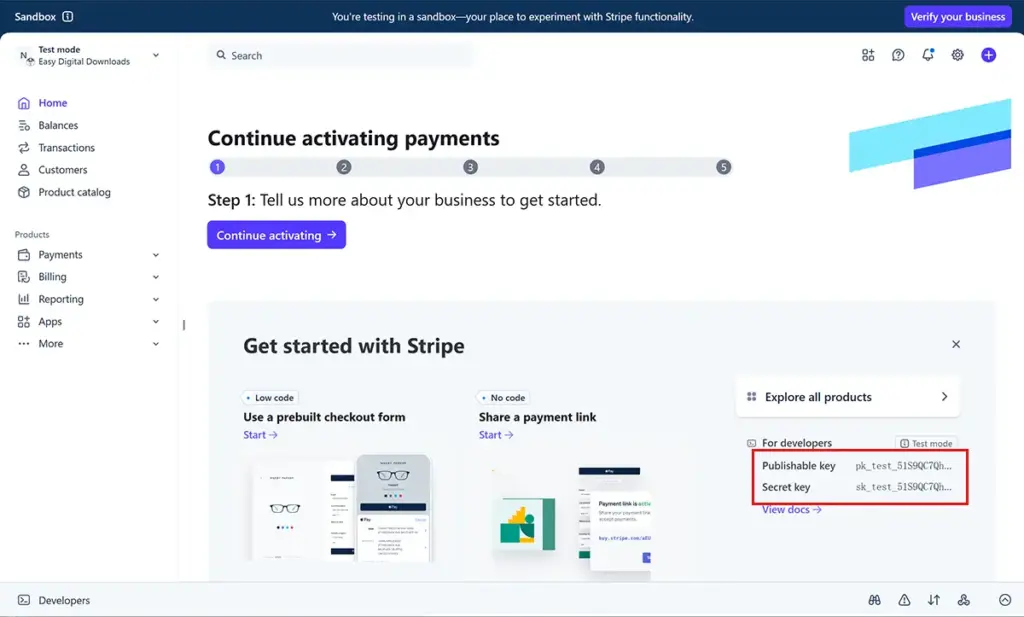
- Publishable Key: enter a key that starts with
pk_test_. - Secret Key: enter a key that starts with
sk_test_.
Do not mix test keys with live keys. If Test Mode is enabled, both keys must be test keys.
Live API Keys
Use live API keys only when you are ready to accept real payments.
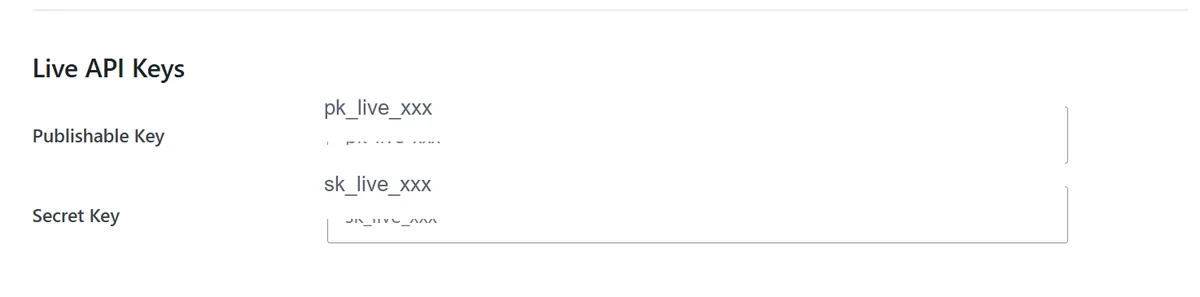
- Publishable Key: enter a key that starts with
pk_live_. - Secret Key: enter a key that starts with
sk_live_.
Live keys create real Stripe payments. Confirm package prices, credit amounts, and webhook delivery before switching to live mode.
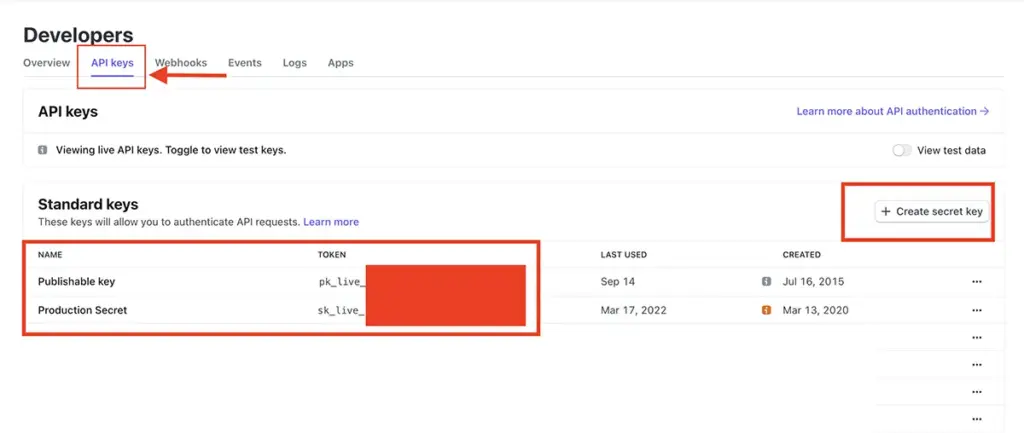
To get the 2 live key, login your Stripe account, select “Developers” on the right top navigation to expand.

Then select “API keys” on the left side navigation. On the API Key page you will need your Publishable Key (starts with PK) and your Secret Key (starts with SK). If you don’t have a secret key generated, click “Create secret key”.
Webhook Settings
Webhooks allow Stripe to notify your site when important subscription events happen, such as successful checkout, monthly renewal, subscription updates, and cancellation.
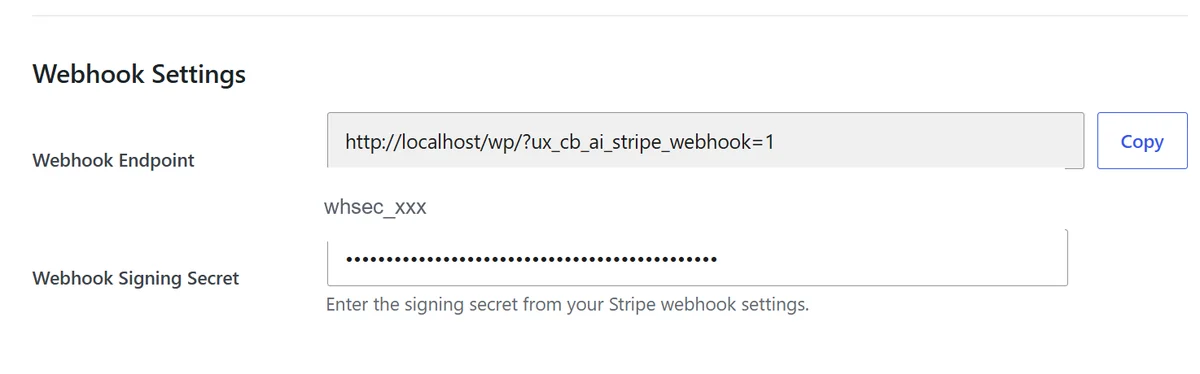
Webhook Endpoint
The Webhook Endpoint is generated automatically by the plugin. Click Copy and paste this URL into Stripe when creating a webhook endpoint.
Example:
https://example.com/?ux_cb_ai_stripe_webhook=1The endpoint URL is not saved as a setting. It is generated from the current site URL and should only be copied into Stripe.
Webhook Signing Secret
After creating the webhook endpoint in Stripe, copy the signing secret and paste it into Webhook Signing Secret. The signing secret usually starts with whsec_.
The plugin uses this secret to verify that webhook requests really come from Stripe.
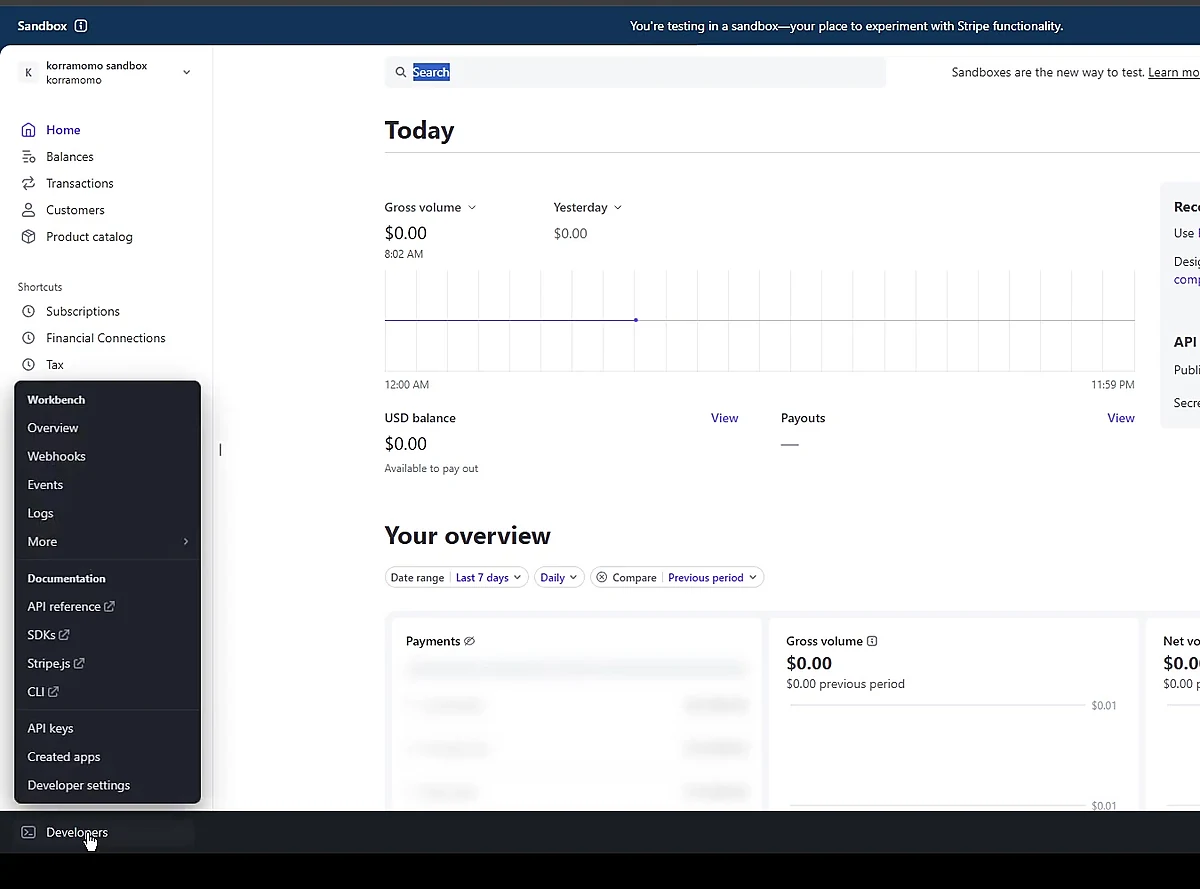
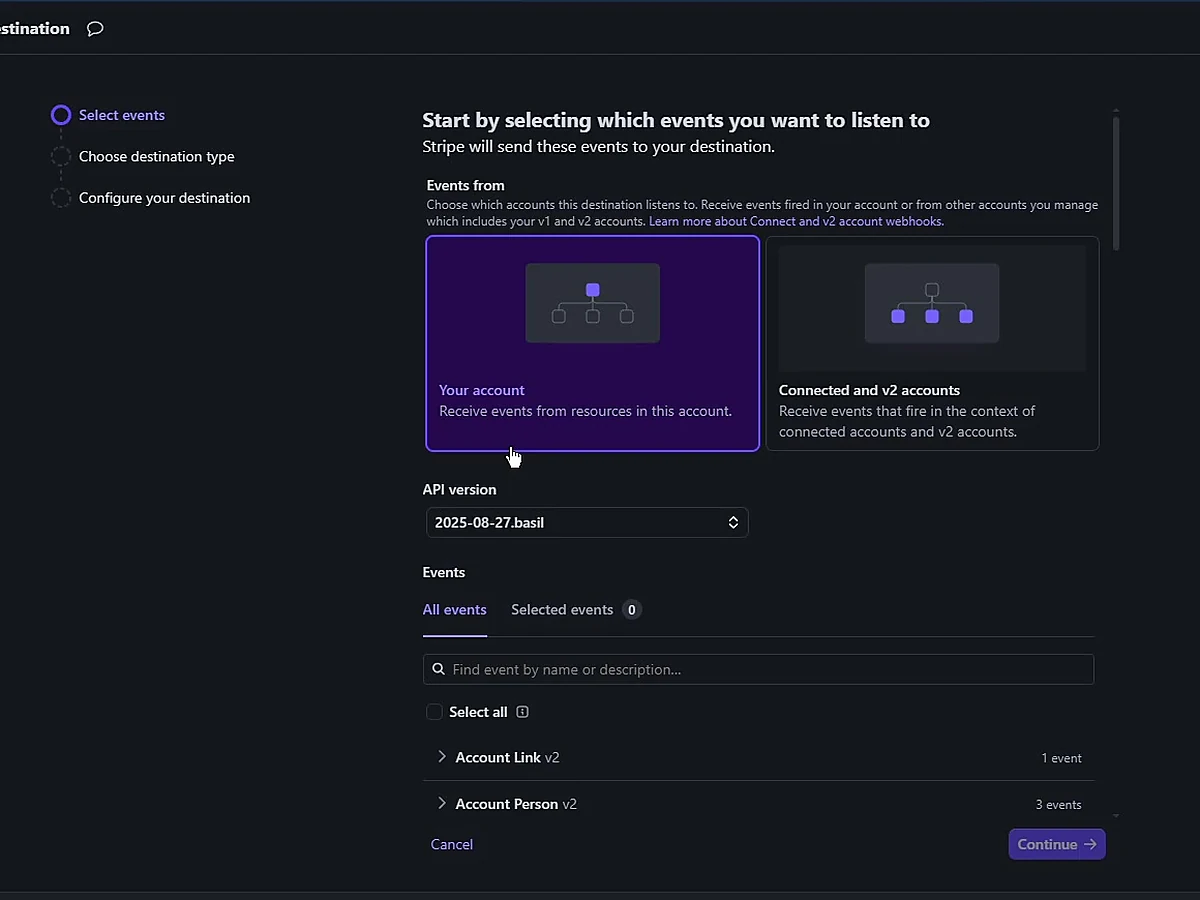
og in to the Stripe Dashboard, then go to Developers and open Webhooks.
Click Add endpoint or Create endpoint to start creating a new webhook endpoint.
When Stripe asks what kind of events the endpoint should receive, choose the option for events from your Stripe account.
enable these events:
checkout.session.completedinvoice.paidinvoice.payment_succeededcustomer.subscription.createdcustomer.subscription.updatedcustomer.subscription.deleted
then continue.
For the destination type, select Webhook endpoint. This tells Stripe to send webhook events to the URL hosted by your WordPress site.
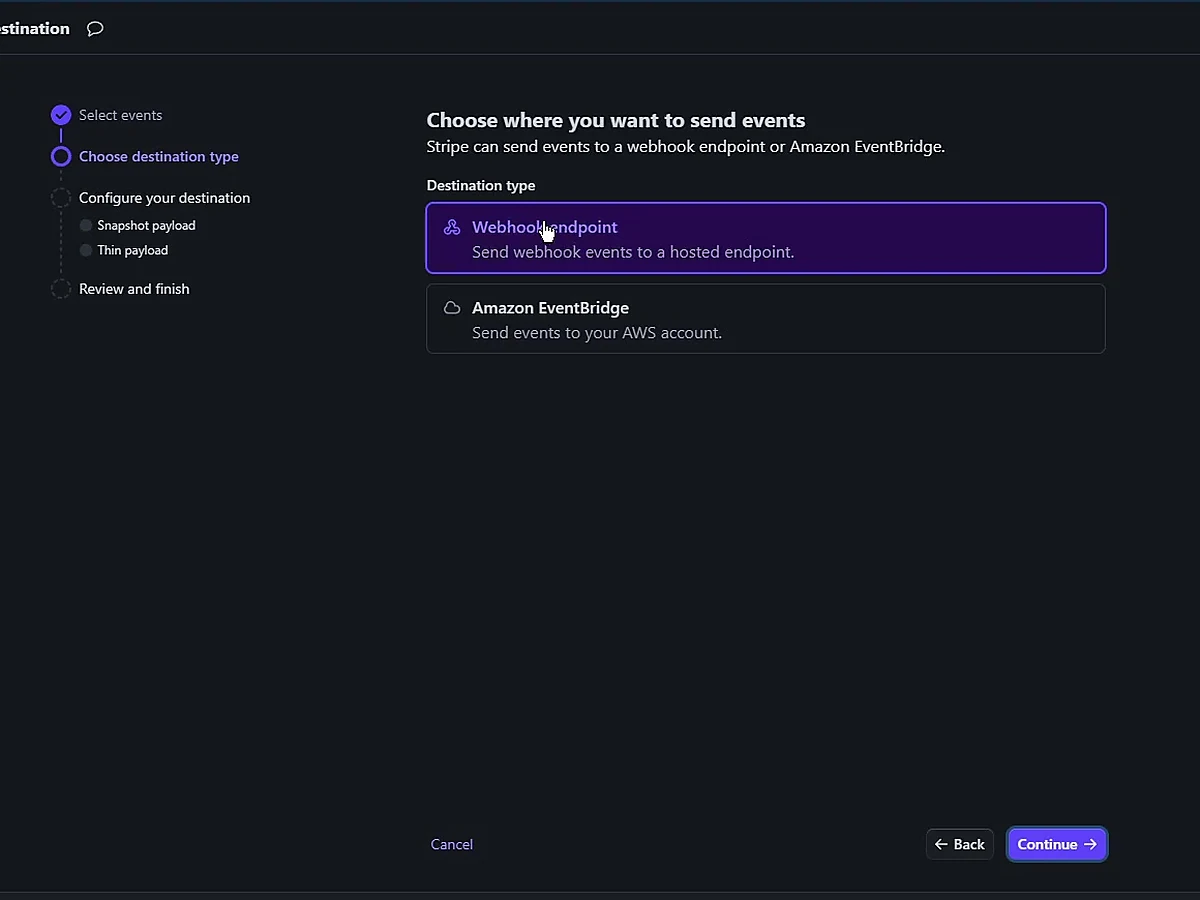
Paste the Webhook Endpoint URL copied from WordPress into the Endpoint URL field in Stripe.
For this plugin, the URL usually looks similar to this:
https://example.com/?ux_cb_ai_stripe_webhook=1
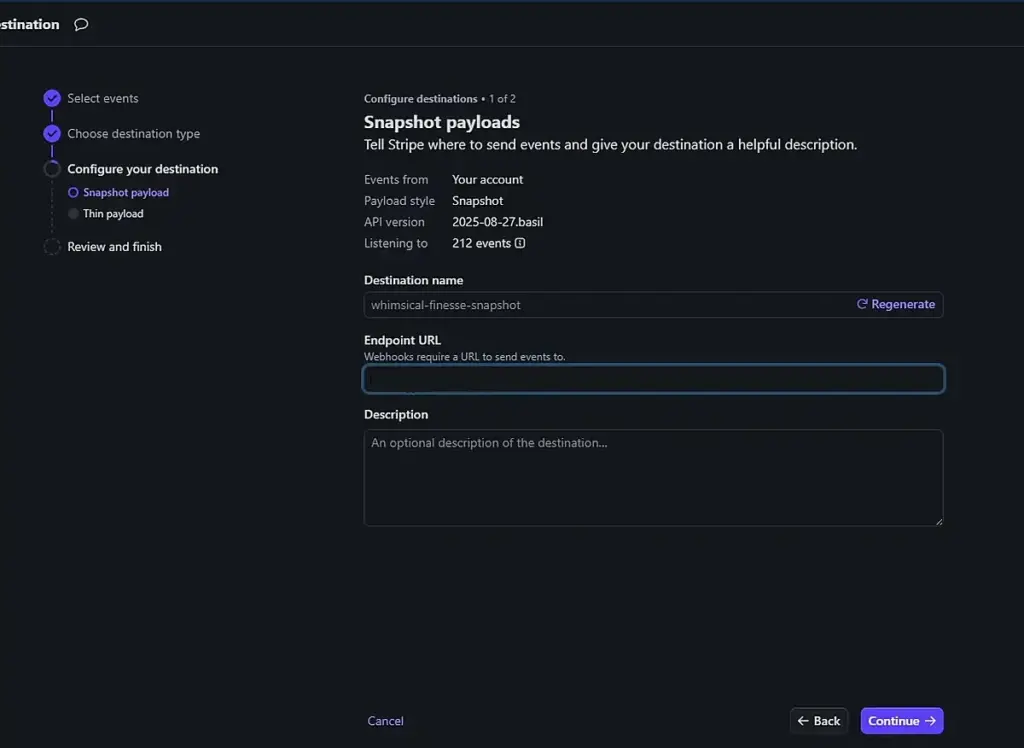
Review the endpoint URL and selected events. If everything is correct, click the final button to create the endpoint.
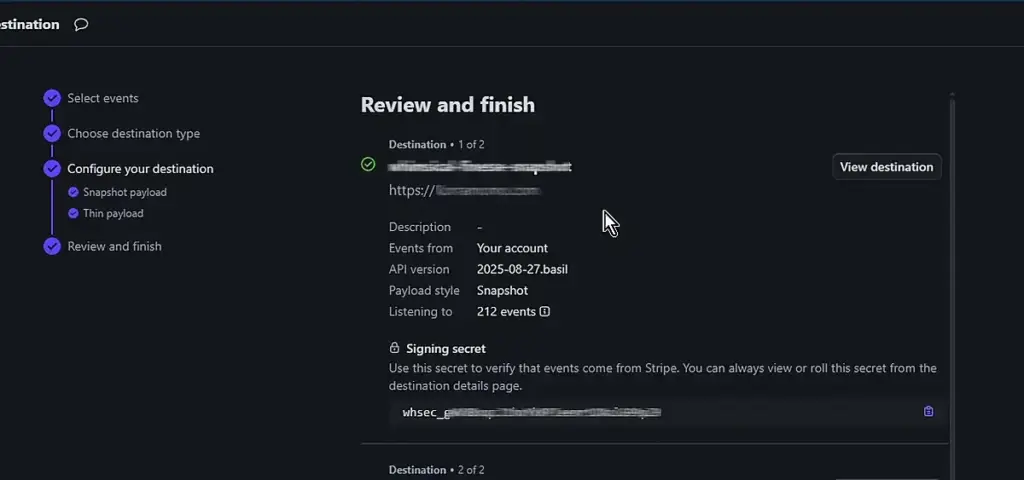
After the endpoint is created, open the endpoint details page in Stripe. Find the Signing secret section and click Reveal.
Copy the value that starts with whsec_. This is the Webhook Signing Secret.
Paste the Secret Back into WordPress
Return to the WordPress AI Stripe settings page and paste the whsec_ value into Webhook Signing Secret.
Checkout Settings
Use Checkout Cancel URL to control where users are redirected after canceling checkout.

Recommended value:
/subscription-pricing/You can also use a full URL, such as:
https://example.com/subscription-pricing/
If this page does not exist, you can create a new page with the title “subscription pricing” and add the shortcode [ux_cb_ai_subscription_pricing] to the default editor of WordPress.
Save Stripe Settings
After entering the required settings, click Save Stripe Settings. Refresh the settings page after saving to confirm that the values were saved correctly.
Test the Subscription Flow
Use the saved settings as the starting point for testing the full subscription flow.
- Enable Enable Stripe Payments.
- Enable Test Mode.
- Enter your
pk_test_andsk_test_keys. - Create a webhook endpoint in Stripe using the generated Webhook Endpoint URL.
- Enter the Stripe webhook signing secret that starts with
whsec_. - Save the settings.
- Open the subscription pricing page on the frontend.
- Select a subscription package and complete Stripe Checkout.
- Confirm that credits are added after payment.
- Open Stripe Customer Portal and test subscription cancellation.
- Return to the pricing page and confirm that the subscription status is updated.
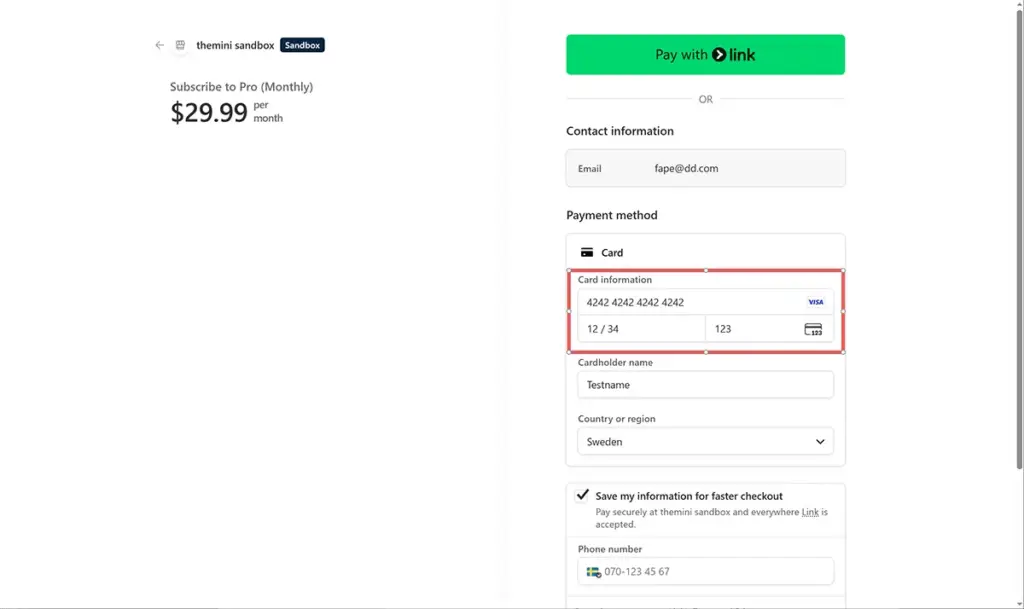
Stripe Test Card
You can use Stripe’s standard test card.
4242 4242 4242 4242Use any future expiration date and any three-digit CVC.
Go-Live Checklist
Before accepting real payments, confirm that the settings page is using live keys and that Test Mode is disabled.
- Enable Stripe Payments is enabled.
- Test Mode is disabled.
- Live API keys are entered.
- A live webhook endpoint has been created in Stripe.
- The live webhook signing secret is entered.
- Subscription package prices and credit amounts are correct.
- Checkout Cancel URL points to the correct pricing page.
- A real payment test has been completed successfully.
Troubleshooting
Most subscription issues are caused by webhook delivery, mismatched API keys, or Test Mode being set incorrectly.
Payment succeeds but credits are not added
Check the Stripe webhook setup first. Make sure the endpoint URL is correct, the signing secret is correct, and Stripe shows successful webhook deliveries.
Subscription cancellation does not update on the site
Make sure Stripe is sending customer.subscription.updated or customer.subscription.deleted events to your webhook endpoint.
Webhook testing on localhost
Stripe cannot send webhook events directly to a normal localhost URL. For local testing, use Stripe CLI to forward webhook events to your local WordPress site.
Test Mode payment fails
Confirm that Test Mode is enabled and that both API keys are test keys. Test Mode requires pk_test_ and sk_test_ keys.